After you create a team member record, you can manage responsibilities by changing the status and the office assignment.
Changing Team Member Statuses
Team member records can be set to Active or Inactive:
- Active — The user can login to aACE and access the modules available to the assigned user group.
- Inactive — The user cannot login or access any modules. (Note: The team member record remains in the system, linked to its user group, but the user account is also deactivated.)
- Navigate to Menu > Internal > Team Members and locate the desired team member record.
- In the detail view menu bar, click Actions and select the desired status:
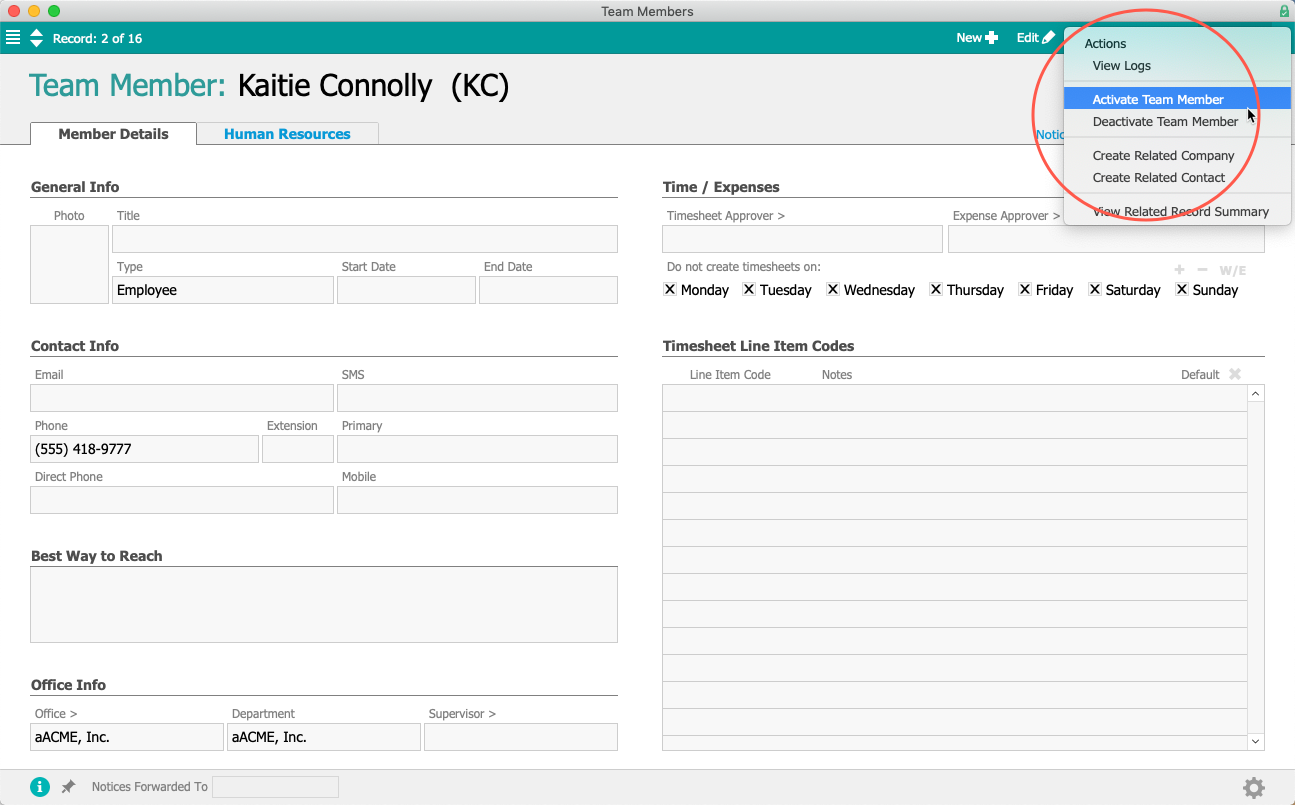
- At the confirmation dialog, click Activate (or Deactivate).
Note: When you deactivate a team member, the system prompts you to reassign the related records that are in Pending or Open status. (See below for details.)

Updating Multiple Team Member Records
You can update multiple team members at one time from the list view: locate the applicable records, then click Actions > Activate (or Deactivate) Team Members in List.
Note: Deactivating multiple team members this way does not automatically prompt you to reassign records. You must open the detail view for each team member, then click Admin Actions (![]() ) > Reassign All Related Open and Pending Records.
) > Reassign All Related Open and Pending Records.
Other Effects of Deactivating a Team Member
Notices that would normally be sent to the deactivated team member are voided.
Reassigning the Pending and Open records to other team members should be done as soon as possible. You can reassign all records to a single team member when you deactivate a team member: at the prompt, click Reassign, select a new team member, type "REASSIGN", and click REASSIGN. Other options to assign various records to different team members include: 1) locate each individual record and manually edit the Assigned To field or 2) use the Advanced Search to locate a desired set of records, then click Admin Actions > Reassign Records in List.
Transferring Team Members Between Offices and Departments
A team member can be assigned to only one office and one department at a time. However, a team member can view and work with records from other offices and departments if your system administrator sets the appropriate User Group preferences.
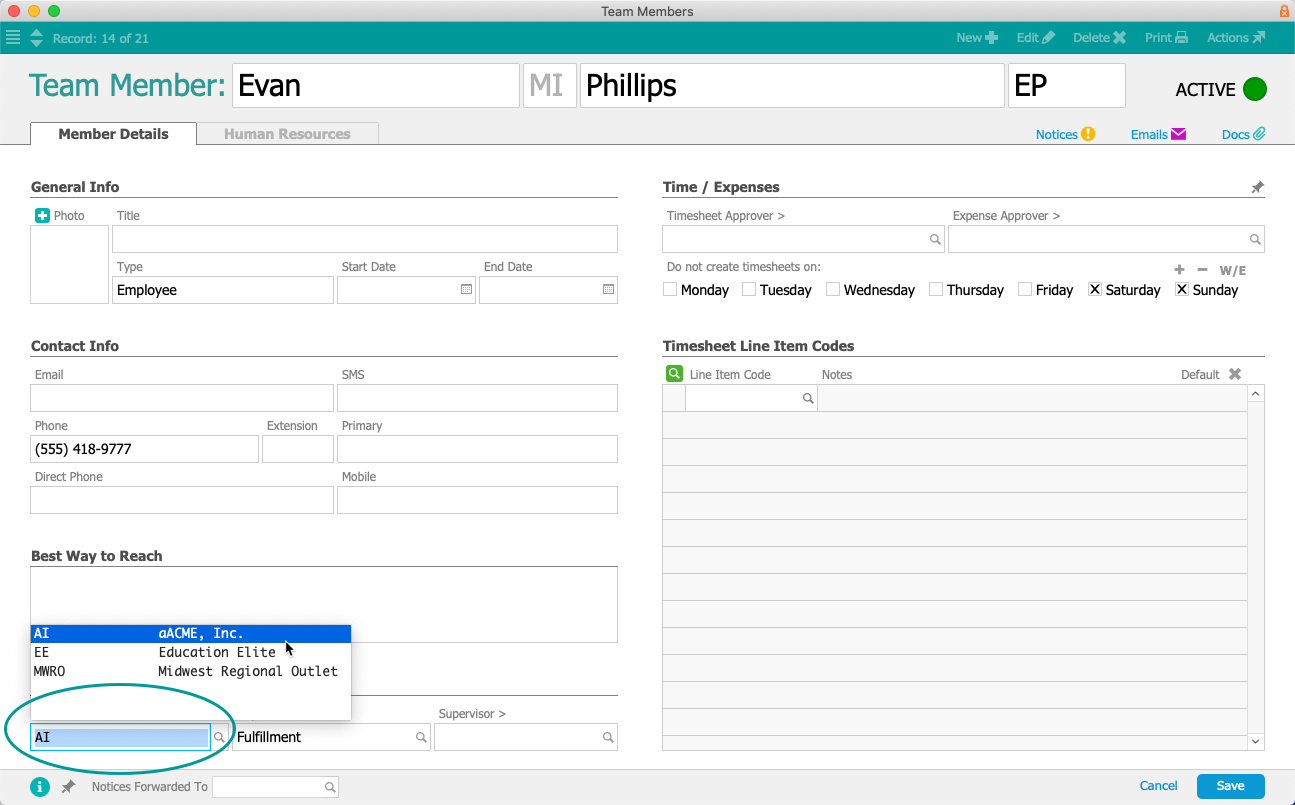
You can transfer a team member to a different office:
- Navigate to Menu > Internal > Team Member.
- Locate the desired team member record, and at the detail view, click Edit.
- Update the Office field, then click Save. (Note: The Department field may automatically update also.)
To change the department assignment, use the preceding steps and manually change the Department field. In addition, you can transfer multiple team members to a different department at one time: from the Team Members list view, locate the team members you want to transfer, then click Actions > Update Department for Team Members in List.